365 Insider Programに参加してPython in Excelのベータ版を使えるようになったので、DF操作を中心にいろいろ触ってみる。
まずExcel上にDFを作る
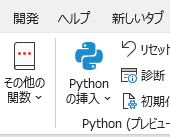
[数式] > [Pythonの挿入] > [Pythonサンプルを試す]
「pandasで説明する」から[サンプルの挿入]
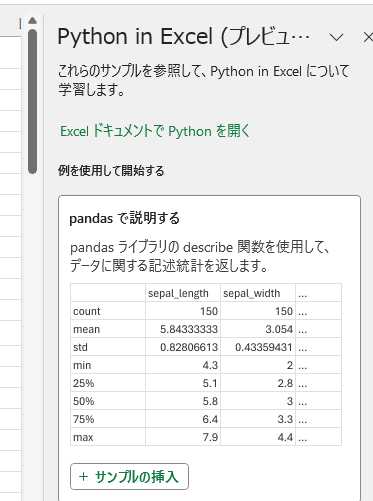
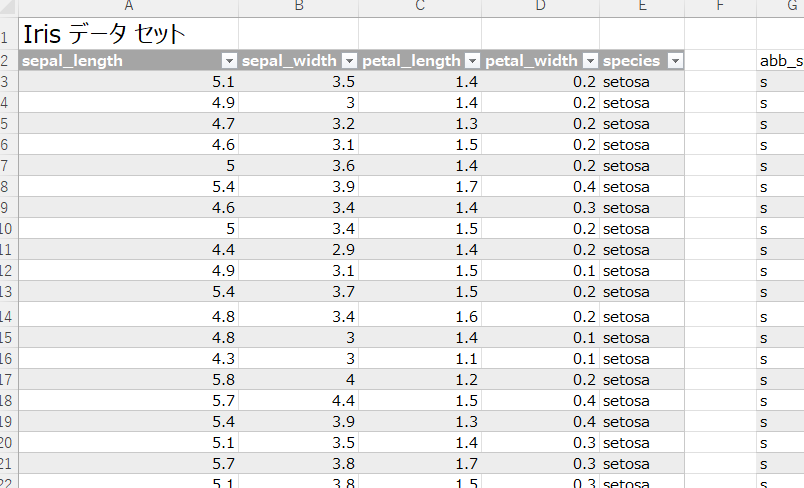
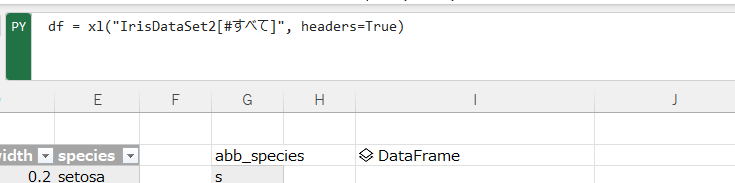
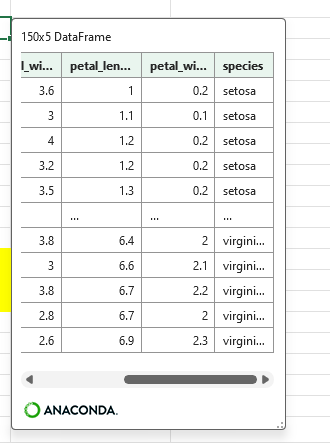
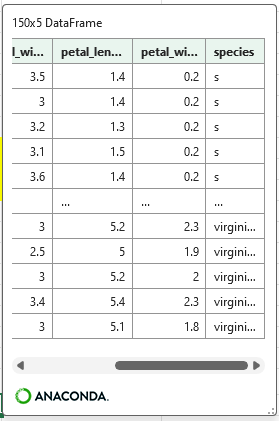
で、Irisデータセットの表と、dfが作られた。
列のリストを取得して戻りタイプをExcel値にしたら、dfのヘッダ項目一覧を表示できる。
df.columns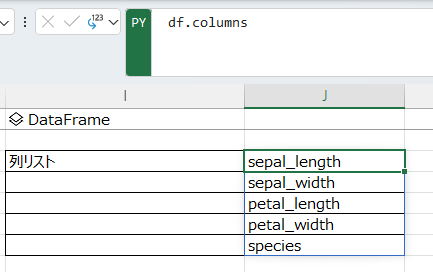
抽出
特定列を抽出して新しいdfを作る
ほしい列だけを指定してから実行して実行結果セルのdfの中身を見てみると、該当する列だけになったdfが生成される。
df_1 = df[["sepal_length","species"]]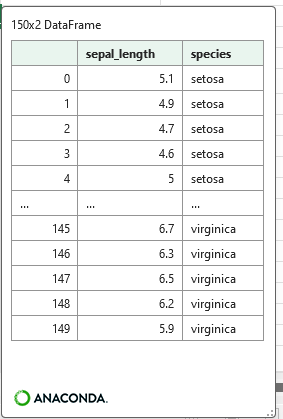
抽出条件に一致する行だけを抽出する
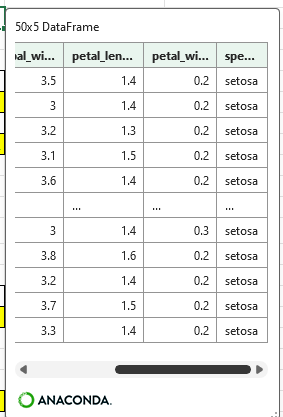
speciesがsetosaだけの行を抽出して新しいdfに格納する。
df_2 = df.query('species=="setosa"')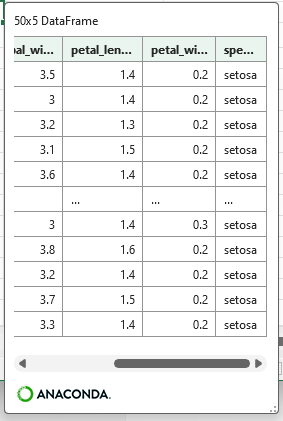
抽出条件を別セルにあらかじめ定義し、そのセルを参照して抽出する(★便利)
まず、別セルに抽出条件を入力する。species列で”virginica”の行だけを抽出したい。
“virginica”と入力したセルを用意し、PYモードセルにてそのセルを指定して文字列を生成する。
extkey = xl("I14")
抽出を行う別セルにて、定義した文字列を抽出条件に設定し実行するとspeciesが”virginica”のみのdfが生成される。
df_3 = df.query('species == @extkey')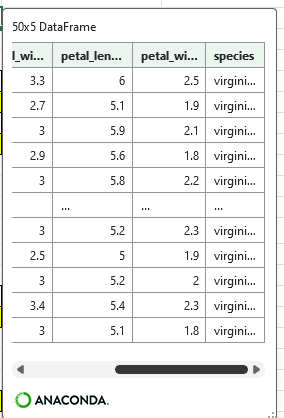
ちなみに抽出条件の参照元セルの値を変更すると、抽出条件および抽出結果dfが動的に更新される。これは便利。
複数条件をそれぞれのセルで指定して抽出する
複数条件での抽出も問題なくできる。
文字列項目と数値項目の抽出条件をそれぞれ生成して、df.queryで&を指定すれば両方の条件に合致する行だけが抽出される。
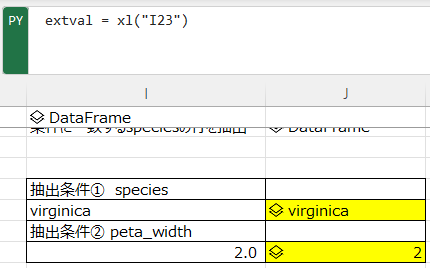
df_4 = df.query('species == @extkey_1 & petal_width < @extval')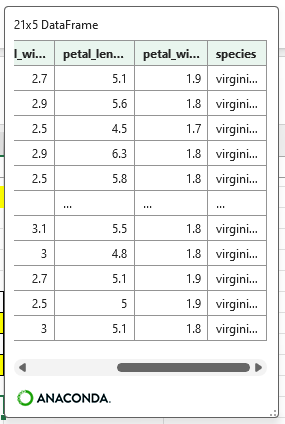
ソート
単一条件ソート
df.sort_valuesでソートする。
df_5 = df.sort_values('petal_length')petal_lengthでソートされている。
列名の文字列を作成してソート
あらかじめ別セルにソートする列の文字列を作成して、そのセルを指定してソートすることもできる。
#I31セルの'sepal_width'を読み込んで、ソートキーを作成
sortkey = xl("I31")
#J31に定義した文字列を指定してソート
df_6 = df.sort_values(xl("J31"))
#文字列名を指定してもよい
df_6 = df.sort_values(sortkey)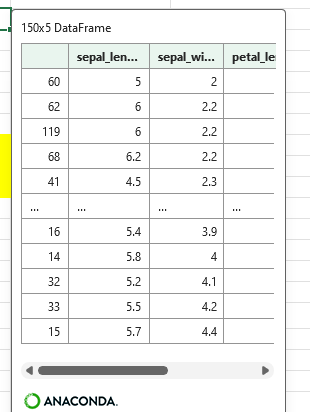
リストを作成してソート
項目名を複数セルに列挙する。

このセルを1つずつ指定し、ソート条件リストを作成する。
sortlist_2 = [xl("J39"),xl("J40"),xl("J41")]このリストを指定してソートすると、リストを使用して複数ソートdfが得られる。
df_8 = df.sort_values(xl("J42"))

#リスト名指定でもOK
df_9 = df.sort_values(sortlist_2)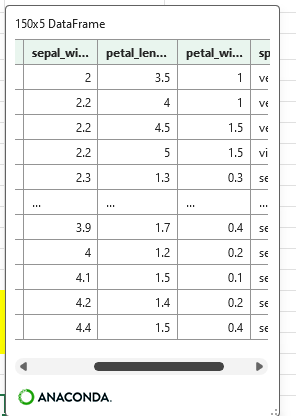
置換・変換
引数で文字を直接指定して置換
置換はreplaceを使う。
df_10 = df.replace('setosa','s')“setosa”が”s”に置換されている。
セルを指定して置換
置換前と後の文字列をそれぞれ別セルに準備する。

このセルをそれぞれreplaceに渡す。
df_11 = df.replace(xl("J53"),xl("J54"))置換前セルの”virginica”が、”vi”に置換された。

リストで一括置換
置換前リストと置換後リストをあらかじめ定義して、対応する文字列を一括で置換する。
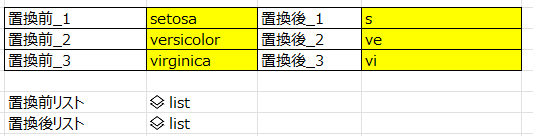
#置換前リスト
replist_before = [xl("J57"),xl("J58"),xl("J59")]
#置換後リスト
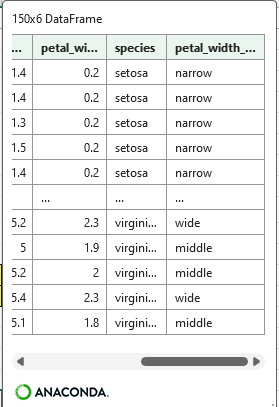
replist_after = [xl("L57"),xl("L58"),xl("L59")]df_12 = df.replace(replist_before, replist_after)speciesが短縮形に置換された。
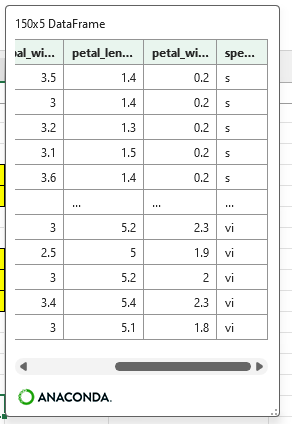
数値項目をカテゴリ項目に変換
数値項目について、その値の範囲によってカテゴリを付与したい場合はpd.cutとdf.assignを使用する。
※ちなみに1セルにつきPythonオブジェクトは1個しか返せないように見えるので、以下の処理は1セルづつ分けて行う。
df_13 = dfs_tmp = pd.cut(df_13['petal_width'], bins=[0,1.0,2.0,3.0], labels=['narrow','middle','wide'])df_13 = df.assign(petal_width_bin = s_tmp)指定したpetal_widthに応じて、カテゴリ変数petal_width_binが追加されている。
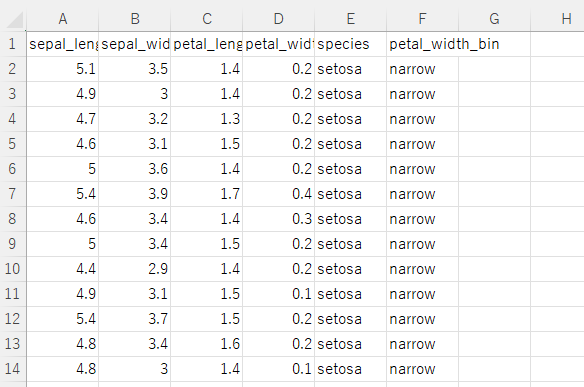
別シートに加工結果を出力
諸々加工した表を最終的に出力する場合は、返り値のオプションで「Excelの値」を選択すればよい。
実行セルを1行1列目として、表の中身が展開される。
(随時更新)